This post contains affiliate links. See my disclosure here.
Soil blocks will easily up your homesteading and gardening game this spring! Once you have mastered this technique you will find it to be the simplest and least expensive method for starting seeds. Making soil blocks does not need to be hard and is the only way we start seeds on our farmstead. I will show you how to ditch the plastic trays and never look back!
What is a Soil Block?
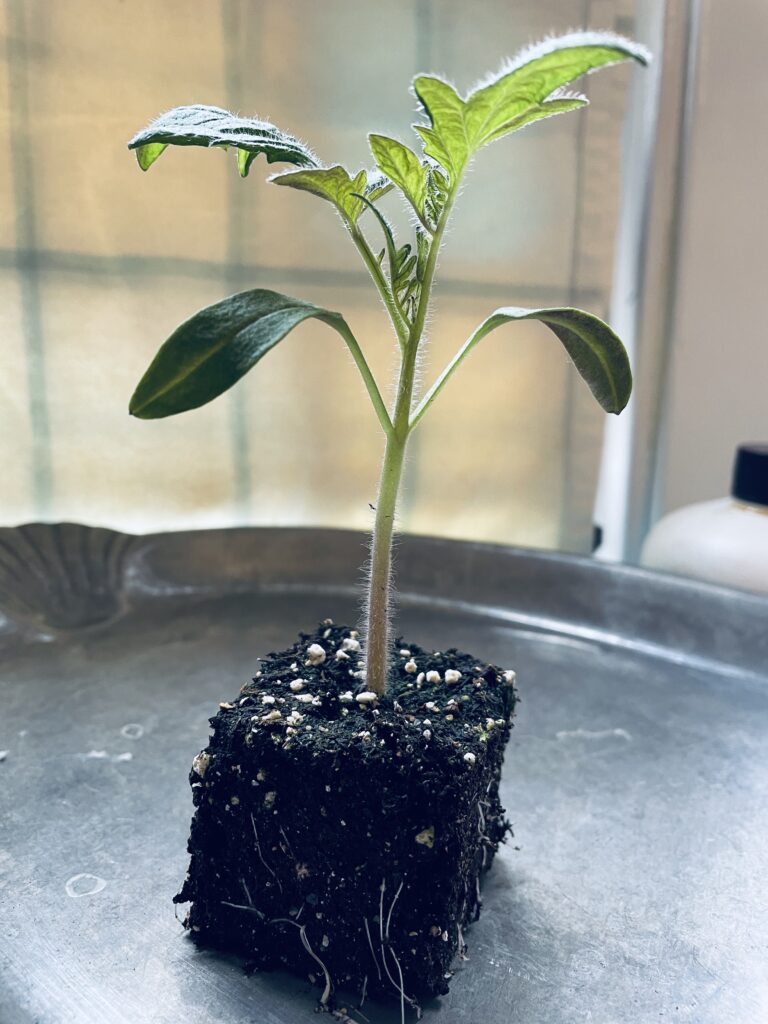
A soil block is a lightly compressed cube of seed starting soil. This serves as both the container and growing media for your transplants. Each soil block has a gap between them. This air gap keeps roots from penetrating neighboring blocks. Roots pause when they hit this air gap and wait to grow until transplanted. This is important because when a soil block is transplanted they can quickly adapt and grow in the new medium. Transplants coming out of pots go through much worse transplant shock because the roots have circled around the inside of the pot. Soil blocks are not as fragile as you may think, the fibrous composition of peat moss holds the block together. When the seedling root structure grows in the block they are quite durable even when handled roughly.
What is a Soil Block Maker?
The key to making this system work is having a reliable well made tool. I would suggest buying a soil block maker rather than trying to make one yourself. The money saved from purchasing pots, trays, flats, packs etc year after year will justify the investment. I recommend this soil block maker.
A soil blocker produces cubes out of your preferred growing media. There are different sizes of soil blocker makers to purchase. The differences between the soil blocker tools is how large of a soil block they spit out and how big the indent in the block is for dropping your seed or transplant into. What you are planting and length of growing period will influence what size block you will need to use. For the spring the main size blocking tool I use is the 2″ x 2″. This is a good size block that a transplant can grow in for a while. If I’m delayed for weather related reasons I know my seedling will survive for a while in a 2″ block.
I also use a mini blocker 3/4″ x 3/4″. This type of soil blocker is mainly just for germination and will get transplanted quickly into the ground or into a larger block. It great for small seeds like celery, parsley, peppers, tomato, lettuce, basil.

Examples of plants i used 2″ x 2″
- Beans
- Beets
- Cabbage
- Peas
- Tomatos
- Onions
- Peppers
- Eggplant
- Mellon
Examples of plants i use the 3/4″ x 3/4″
- Basil
- Celery
- Lettuce


Why Soil Blocks are Better
- Stronger root system then container grown seedlings
- Seedling establish themselves quicker after transplanting
- Less waste – Don’t need plastic containers
- Save Money – Soil blocks cost no more than the soil that they are composed of.
Blocking Soil Mix
a blocking mix should have extra fibrous material to ensure the block holds together. The majority of the mix i use is:
- Peat – This is the most important ingredient due its fibrous composition.
- Sand or Perlite
- Compost
I have found the brand promix, which is simply a blend of peat moss and perlite a great base for soil block. I also mix in compost.
Other additions I add to my blocking mix
- Lime – Peat moss can be rather acidic, so lime adjusts the ph of the mix closer to the 6-6.5.
- Garden Tone from Espoma – It is an organic fertilizer that contains slow release nitrogen and greensand which is a broad-spectrum source of micronutrients.
- Worm Casting – Not necessary but will help with water retention and release nutrients.
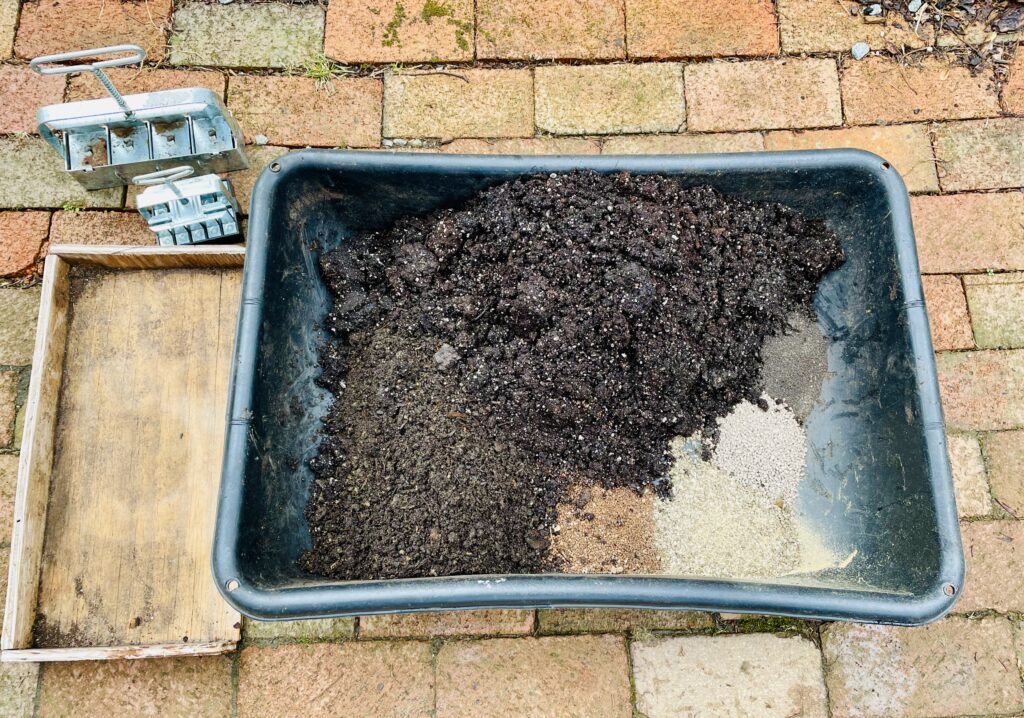
Soil Block Mix Recipe
I use an 11 gallon soil mixing tub I bought from tractor supply and it works great.
- 3 heaping shovel fulls of peat moss
- 1/2 cup of lime
- 2 Shovel fulls of sand or perlite
- 3 cups of fertilizer i recommend garden tone
- 2 heaping shovel fulls of compost
Mix all of these ingredients together in your mixing tub or wheel barrow. Next start moistening your mix. The ratio should be about 1 part water to 3 part soil mix. I like my soil blocks on the wetter side. Shoot for a wet looking concrete. If you accidentally add a little too much water you will have to add a little more peat and compost to absorb the water. Trial and error will come into play here. It takes some practice to get right.
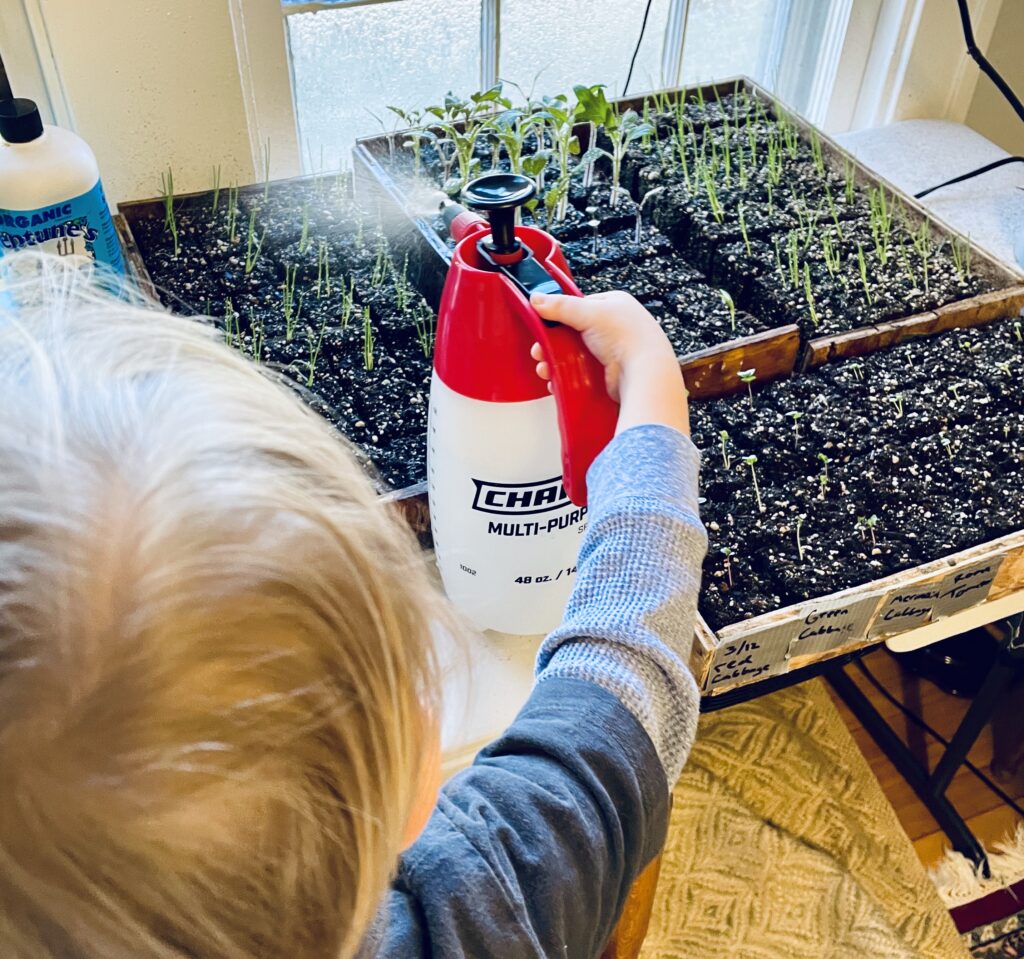
Watering
Soil blocks should never be left to dry out completely. If the block gets too dry it is hard to get the block to absorb water again, so its best practice to keep the blocks moist. I use a fine mist sprayer instead of a watering can to water my soil blocks. A pump sprayer or trigger spray bottle works great.
Trays
Although you can ditch your plastic pots you do still need some kind of tray for your soil blocks. I have been using scrap pieces of plywood to create my trays. These have lasted multiple seasons now and i always make a few more each spring. This is a great kit that includes the soil blocker and plastic trays.
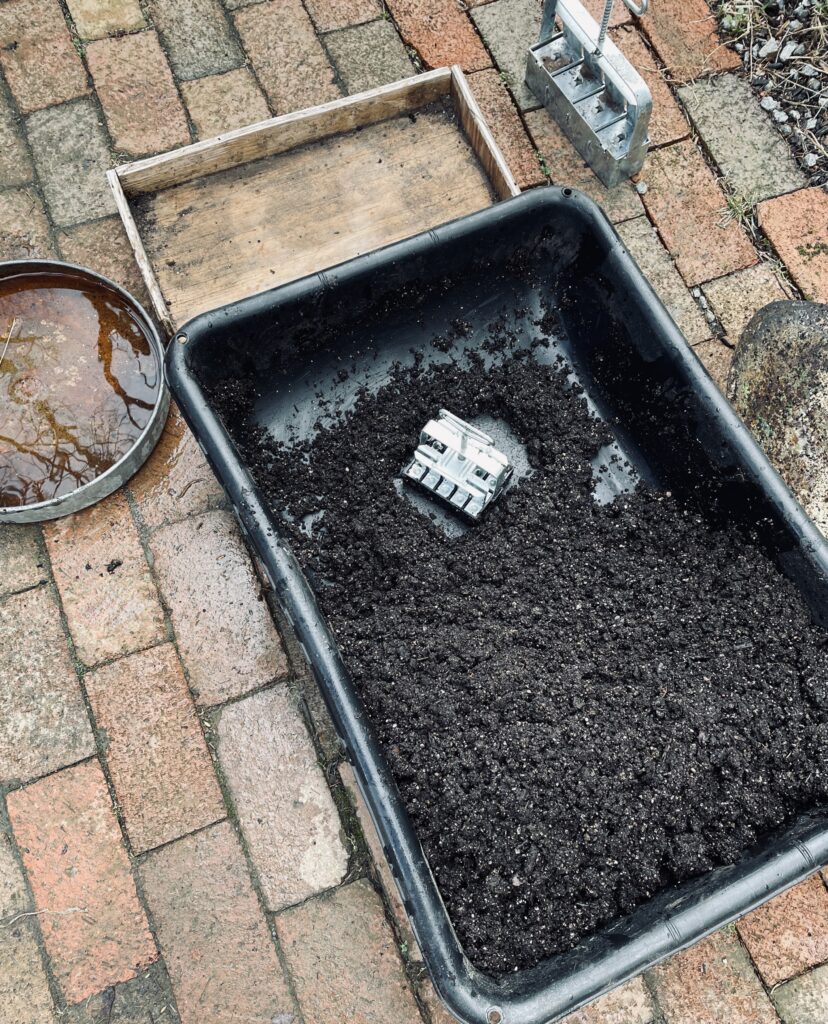
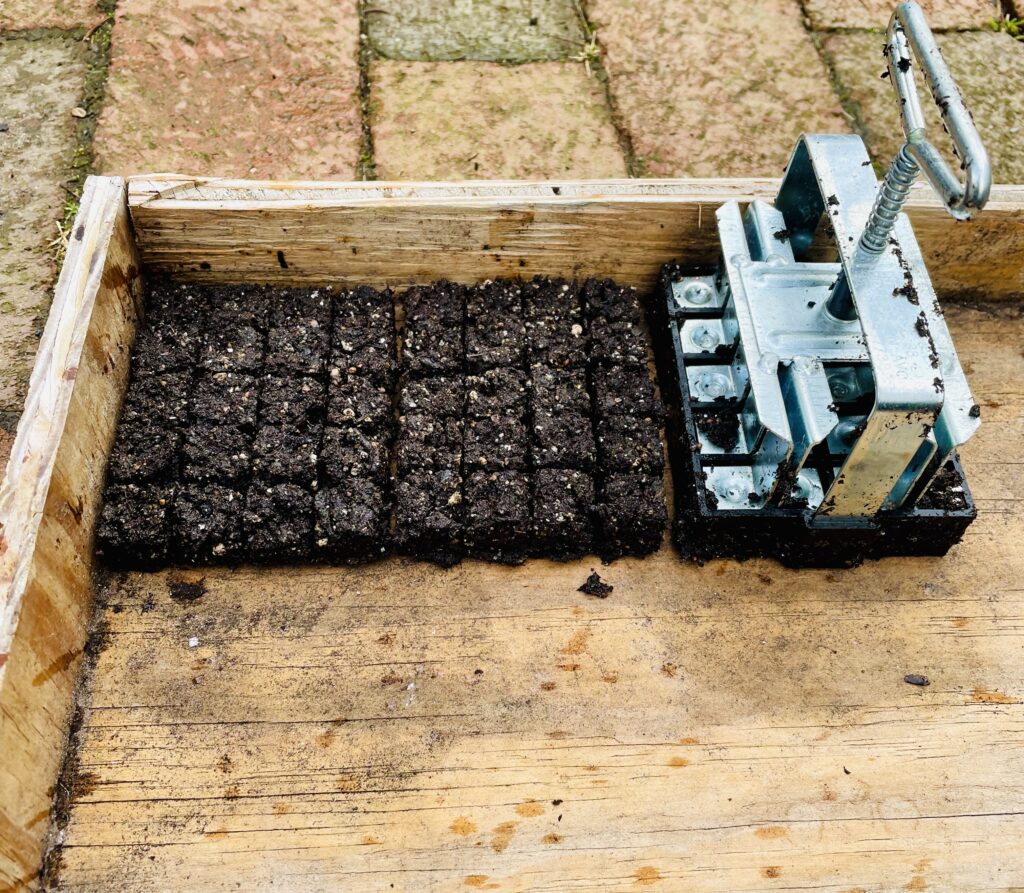
Making the Soil Blocks
After mixing your soil ingredients and adding water its time to start making blocks.
- First, scrape a layer of soil slightly thicker then the block you are making to one side of the mixing tub.
- Then, firmly press the soil block maker down through the soil until you hit the bottom of the tub.
- Next, twist and scrape the tool along the bottom of the bin removing any excess soil.
- Lift the filled soil block tool out of the tub and squeeze the handle depositing the blocks onto your tray.
- Dip your tool into a pale of water to clean excess soil off. This will keep soil from building up, and you will get more consistent stronger blocks.
Some water should seep out of the tool as you push out the blocks. If the blocks don’t hold together you may need to add more soil or water to get them to come out correctly.
Seeding
A rule of thumb is to plant your seed at a depth of double the diameter of the seed. So if a seed is a 1/2″ in diameter plant that seed an 1″ deep. My soil blockers have a dimple in the block to drop my seed into. After dropping the seed in I will cover them with more soil mix. Depending on what the seed is and how big the seed is will determine how much soil I will cover the seeds with. If it is something like lettuce I won’t cover the seeds up at all. If its a large seed like a pea I will make the dimple even larger so I can plant the seed a bit deeper. Don’t forget to label your seedlings. I stick labeled tape to the side of my trays.
Growing In Soil Blocks
From here it is no different than growing seeds in pots. I like to put my seeds in a sunny window. I do add supplemental light to keep my seedling from stretching. Placing your seeds on a heating pad is a great way to get your seeds to germinate quicker.

Transplanting
Once your seedlings have germinated, have a set of true leaves, and you can see some roots on the edges of your soil blocks it’s time to think about transplanting. Make sure if you have frost sensitive plants it is past your first frost date. You can look up when your first and last frost date are here. I also like to harden my seedlings off before transplanting by bringing my seedlings outside for a day or two before transplanting. The seedlings are now ready to be transplanting into the ground, raised beds, or pots. Treat them exactly how you would treat any other seedling and you’ll be amazed how quickly they take off growing!
If you liked this gardening post check out how I grow garlic.
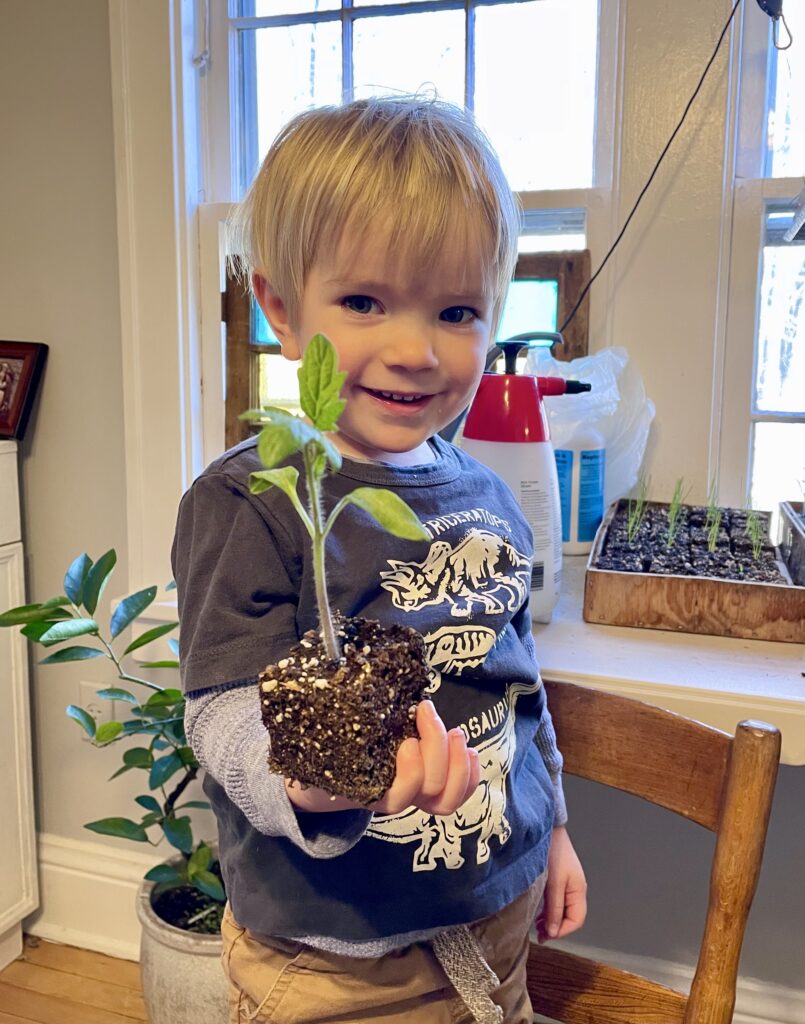
Ana, you are so inspiring. Valuable information as usual. Not to mention your adorable helper!